mirror of
https://codeberg.org/pfzetto/axum-oidc
synced 2025-12-09 22:55:17 +01:00
| .. | ||
| keycloak_example | ||
| src | ||
| .env.example | ||
| .gitignore | ||
| Cargo.toml | ||
| img.png | ||
| README.md | ||
Example OIDC Setup
This is an exmple using Keycloak as the OIDC provider.
Steps for statring the service and adding an account:
- starting keycloak:
docker-compose -f keycloak/docker-compose.yml up - go to
http://localhost:8989in your browser and login with admin/admin - create a new realm in keycloak
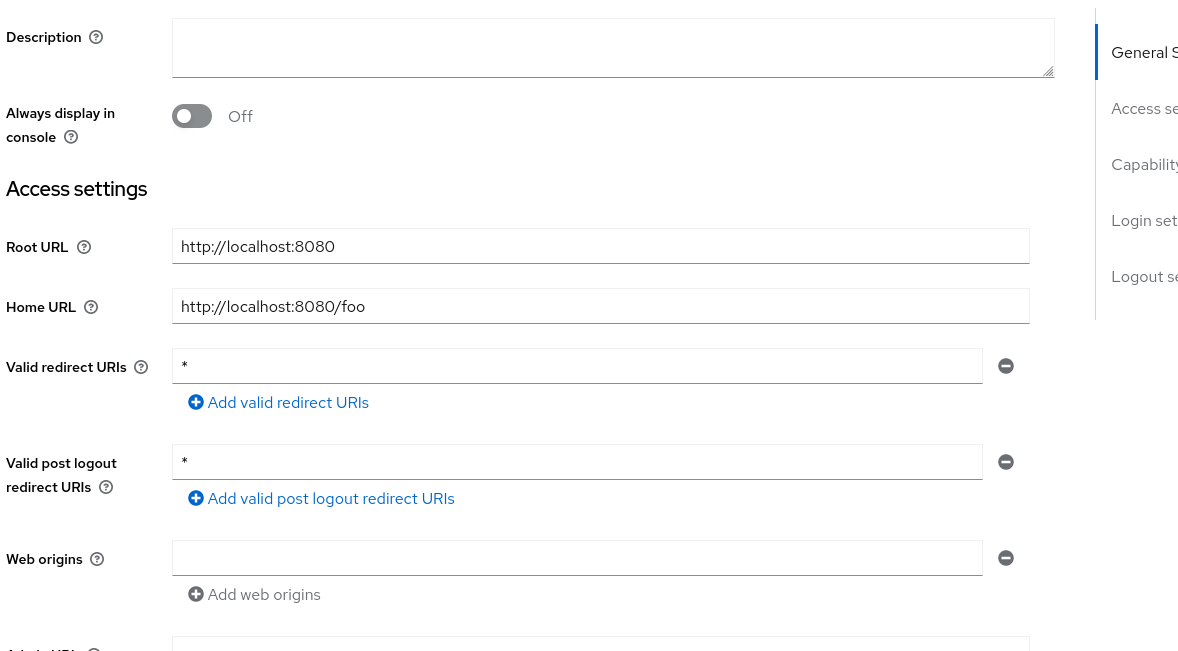
- create a new client in the realm
- add an account in the realm
- set the accounts password under credentials tab
Steps for attaching the application to the OIDC provider:
- copy the
.env.examplefile to.env - generate your issuers IP (localhost in this case):
hostname -I | awk '{print $1}'(THIS MAY CHANGE DEPENDING ON YOUR NETWORK) - set the
ISSUERin the.envfile to the IP - set the
CLIENT_IDin the.envfile to the client id of the client you created in keycloak (found underCredentials) - set the URL as sen below (VERY BAD PRACTICE, DO NOT DO THIS IN PRODUCTION)
- set the
CLIENT_SECRETin the.envfile to the client secret of the client you created in keycloak - set the
APP_URLin the.envfile tohttp://localhost:8080